

UndressAI AI Porn Generator 101: From Prompt to Download
Ever thought about how simple text turns into detailed digital images? The world of synthetic media is changing fast. It’s giving creators new ways to bring their ideas to life.
An undressai ai porn generator helps you turn your dreams into reality. This guide will show you how to use these tools. You’ll learn to create amazing images with ease.
You’ll discover how to write great prompts and handle your files well. With these skills, you’ll make professional-grade results every time you create.
Punti chiave
- Understand the core workflow of modern image synthesis tools.
- Learn how to write descriptive prompts for better visual accuracy.
- Discover the essential steps from initial input to final file download.
- Gain confidence in navigating complex software interfaces.
- Explore best practices for high-quality output management.
Understanding the Mechanics of the UndressAI AI Porn Generator
IL undressai ai porn generator is popular, with a 4.7 rating. It ranks 30th in AI image tools. Knowing how it works helps you get better results and work smoothly.
Core Technology Behind AI Image Synthesis
IL undressai ai porn generator uses Stable Diffusion. It turns your text into images. This is done by analyzing lots of data and refining images over time.
Ethical Considerations and Platform Guidelines
Using the undressai ai porn generator responsibly is key. The platform has strict rules to keep content legal and ethical. Always check the terms of service to know what’s allowed.
System Requirements for Optimal Performance
To get the best from the undressai ai porn generator, your setup matters. A fast internet and a modern browser are essential. Here’s what you need for the best experience.
| Requirement Category | Minimum Specification | Recommended Setup |
|---|---|---|
| Internet Speed | 10 Mbps | 50 Mbps or higher |
| Browser Compatibility | Chrome 90+ | Latest Chrome or Edge |
| Device Type | Desktop or Tablet | Desktop with GPU support |
| RAM | 4 GB | 8 GB or more |
Setting Up Your Account and Navigating the Interface
Before you start using the undressai ai porn generator, you need to set up a secure account. It’s important to protect your online identity when using AI tools. We suggest creating a special email just for these services to keep your main inbox clean and safe.
Registration and Subscription Tiers
The sign-up process is easy and simple. Just use your special email to create an account on the official site. You’ll then choose a subscription plan that fits your needs and how often you plan to use it.
Picking the right plan means you get the tools you need for your projects. There are different plans, from basic to premium. Premium plans offer faster speeds and better quality. Here’s a quick look at what each tier usually includes:
| Subscription Tier | Rendering Speed | Monthly Credits | Priority Support |
|---|---|---|---|
| Basic | Standard | 500 | NO |
| Pro | Veloce | 2,000 | SÌ |
| Elite | Ultra-Fast | Unlimited | SÌ |
Dashboard Overview and Tool Layout
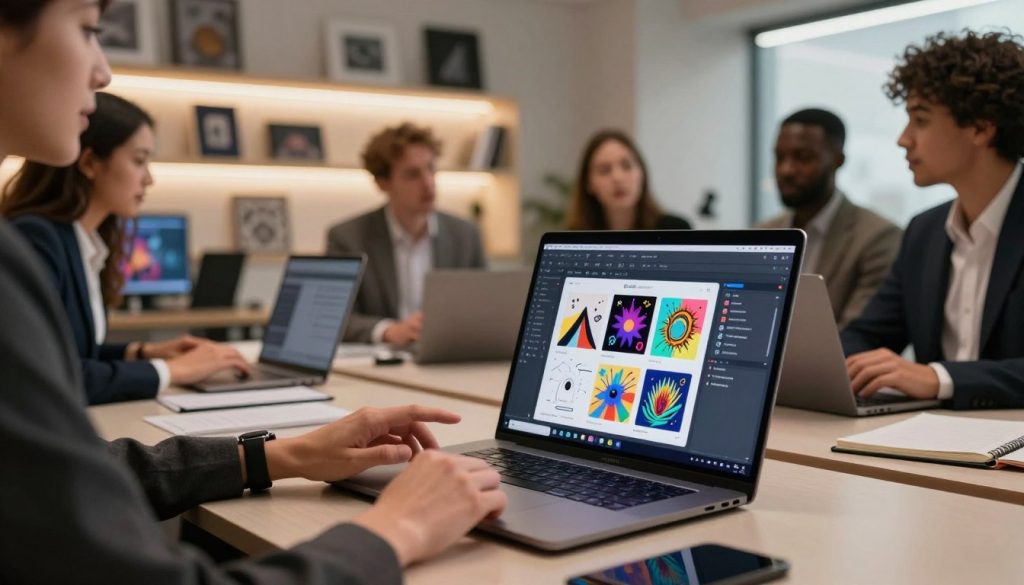
When you log in, you’ll see the undressai ai porn generator‘s main dashboard. It’s designed to be easy to use, with everything you need right where you need it. The main area is for typing in your prompts, so you can get started right away.
The side menus have your media, saved settings, and account info. Getting to know this layout helps you work faster. Take a few minutes to explore and find where your files and history are.
Configuring Personal Settings for Better Results
Next, customize your settings to get the best results. Go to your profile to change things like aspect ratios and quality. These settings are your starting point for every project.
By setting these up ahead of time, your undressai ai porn generator experience stays consistent. Also, check your privacy settings to make sure you’re comfortable with how your data is shared. The right settings help you get great results with less effort.
Mastering Prompt Engineering for High-Quality Outputs
Learning to craft great prompts is key to creating stunning images. This undressai tutorial will show you how to turn your ideas into clear instructions for the model.
Structuring Effective Text Prompts
Begin your prompt with a clear description of the subject. Then, add details about the style, illuminazione, and camera angles. This helps the AI understand what you want.
Consistency is key in creating prompts. Use specific words to describe the mood and texture. This ensures the AI knows exactly what to create.
Utilizing Negative Prompts to Refine Details
Negative prompts help refine your output. They tell the AI what not to include, like blurry textures or unwanted backgrounds.
By specifying what to avoid, you improve the quality of your image. It’s like a safety net that keeps the focus on your main subject.
Adjusting Aspect Ratios and Resolution Settings
Adjusting technical settings is the last step in this undressai tutorial. Pay attention to the CFG scale, which controls how closely the AI follows your prompt. The default is 4, a good starting point.
If the output is too messy, try increasing the CFG value. Also, make sure the aspect ratio matches your display for a sharp image.
Executing the Generation Process
After you’ve got your prompts down, it’s time to use the generation engine. This is the next step in our undressai tutorial. You need to know how the platform turns your text into images. Follow these steps for a smooth process from start to finish.
Selecting the Right Model for Your Vision
The model you pick affects your image’s quality. PornWorks AI has 21 models, each for different styles and details. Try out different models to find the one that fits your vision best.
- Photorealistic models: Great for images that look real.
- Stylized models: Perfect for artistic or illustrative images.
- High-fidelity models: Best for detailed images with sharp edges.
Managing Generation Queues and Wait Times
Busy times can make wait times longer. To work better, send your important tasks when it’s less busy. Be patient when the server is full, as quality is more important than speed.
If waiting is too long, batch your requests. This lets the system work on many images at once. You can then focus on other things. Keep an eye on the status dashboard to see how your undressai tutorial is going.
Troubleshooting Common Generation Errors
Sometimes, you might get a failed request or rendering error. Most problems come from too complex prompts or server timeouts. If an image doesn’t work, try these steps:
- Simplify your prompt: Cut down on extra details that might confuse the AI.
- Check your connection: Make sure your internet is stable while uploading.
- Refresh the session: A quick page reload can fix cache issues.
Stay organized and use these tips to keep your workflow smooth. Learning these technical parts is key to your undressai tutorial success.
Refining Results with Advanced Editing Tools
After creating your first image, you can refine it with advanced editing tools. This part of the undressai tutorial shows how to polish your digital creations. By learning these techniques, you can make sure every image is exactly as you envisioned.
Using Inpainting to Fix Specific Areas
Inpainting lets you change specific parts of an image without redoing the whole thing. Just mask the area you want to change and give a new prompt. It’s incredibly useful for tweaking facial features, adjusting clothes, or fixing backgrounds.
Applying Outpainting to Expand Your Canvas
Outpainting is great if your image feels too small. It adds new content outside the original image. It keeps the original style and lighting, so you can make your scenes bigger or add more context.
Adjusting Lighting and Texture Parameters
To get a professional look, play with lighting and texture settings. You can use LoRA models for special effects. Just add <lora:LoRA-name:0.5> to your prompt to control the effect’s strength.
Changing these settings in your undressai tutorial workflow helps you get consistent results. By tweaking these technical aspects, you have full control over your images’ final look.
Managing Your Media Library and Downloads
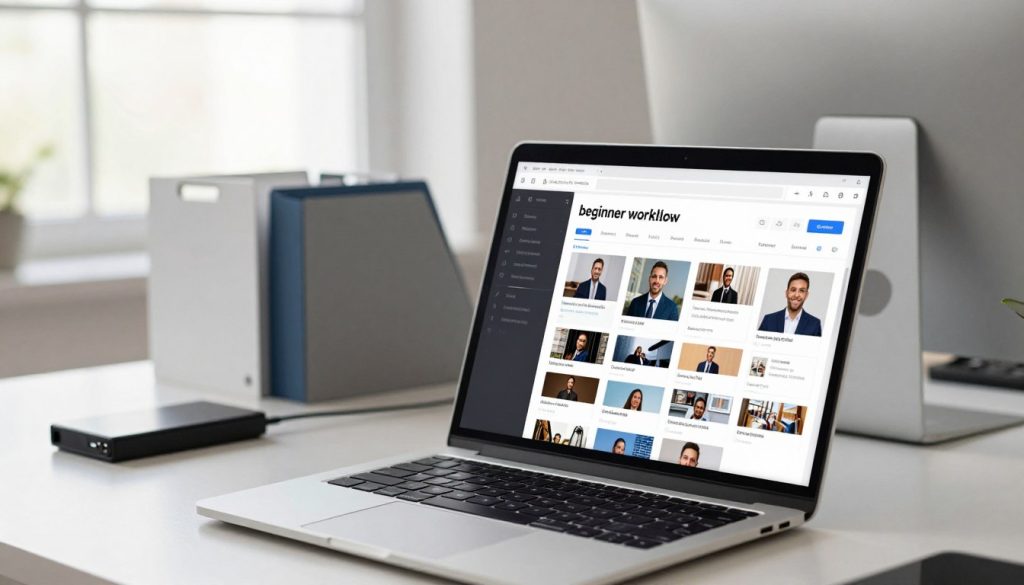
Learning to manage your files is crucial for your beginner workflow. As you create more content, keeping things organized helps avoid clutter. It also saves time when you start new projects.
Organizing Generated Files in Your Gallery
The platform has a built-in gallery for your creations. It’s important to regularly review your history. This way, you can delete drafts you don’t need and keep only the best work.
Using a consistent naming system for your files is helpful. It makes finding specific images much easier when you have many saved.
Understanding File Formats and Compression
When saving your work, you’ll come across various file formats. PNG files are often the best choice because they don’t lose any image details during compression.
If saving space is a priority, JPG formats might be better. They use lossy compression but are fine for quick views or social media sharing.
Securely Downloading Assets to Your Local Device
Downloading your assets to your computer is the last step in your beginner workflow. Always use a secure connection when moving sensitive images to your device.
To download, just pick the file you want and click the export icon. Always check that the file has fully downloaded before closing your browser. This prevents data loss.
Keeping your files on your own device adds privacy. By storing your assets locally, you control who sees your content.
Optimizing Your Beginner Workflow for Instant Render
Creating a strong beginner workflow is key to getting great results. It helps you organize your digital space well. This way, you can work faster and keep your projects looking professional.
Creating Templates for Faster Iteration
Building reusable templates for common tasks saves a lot of time. Instead of typing out complex prompts, use a pre-made template. This streamlined approach lets you focus more on perfecting your work.
Leveraging Batch Processing Features
Batch processing is a game-changer for making many variations at once. It lets you set up several prompts at once. Then, you can do other things while the system works on them. This makes your work much more efficient.
Saving Custom Presets for Consistent Styles
Keeping a consistent look in your work can be tough for beginners. Saving your settings as custom presets helps a lot. This way, your work always looks the same, which is important for a strong portfolio.
Troubleshooting Performance and Quality Issues
To get a perfect instant render, you need a stable setup and know where problems might come from. Even top AI tools can hit technical snags that slow you down. By managing your resources well, you keep your work smooth and top-notch.
Resolving Common Rendering Glitches
When your generation process stalls or fails, start by clearing your browser cache. Temporary data buildup can mess with your connection to the server. Try refreshing your session or using a private window to fix small issues.
Make sure your internet is steady while you work. A sudden internet drop can make the server timeout, stopping your instant render. If problems keep happening, check if your VPN or firewall is blocking data.
Improving Image Clarity and Upscaling Techniques
Low-quality images often come from wrong settings at the start. Double-check your aspect ratio and resolution to match your final use. Use built-in upscaling tools to enhance details after the first generation.
High-quality results need a balance between speed and detail. For a quick instant render, start with lower resolution. Then, upscale to high quality for the final image.
Managing Storage and Bandwidth Limitations
How much space you have on your computer affects your workflow. Clean out old files to free up space. A tidy workspace means your software runs better.
Managing your bandwidth is key when dealing with big files. If uploads or downloads are slow, do big tasks when it’s quiet. This keeps your instant render smooth without network slowdowns.
| Issue Type | Primary Cause | Recommended Solution |
|---|---|---|
| Rendering Timeout | Network Instability | Check connection or use VPN |
| Blurry Output | Low Resolution | Apply AI upscaling tools |
| System Lag | Storage Full | Clear cache and delete files |
| Generation Error | Browser Cache | Refresh or clear browser data |
Conclusione
You now know how to handle the complex world of AI image generation. By improving your prompt writing and using advanced editing tools, you can turn simple ideas into stunning visuals.
To get your creative vision right away, practice and pick the right model. These steps help you keep your work consistent in your media library.
Managing your generation queues and fixing errors keeps your projects on track. Every tweak you make to lighting or texture gets you closer to top-notch results.
Your adventure in AI synthesis is all about trying new things. You have the tools to create an instant render that perfectly matches your artistic vision.
Keep exploring what your platform can do to make your digital art even better. The more you use UndressAI, the better you’ll get.
Domande frequenti
What technology powers the UndressAI platform and ensures its quality?
The UndressAI engine uses advanced Stable Diffusion frameworks. These allow for precise image creation based on user input. The platform has a 4.7 rating, showing it balances creativity with safety and ethics well.
How can I protect my privacy during the initial account setup?
To keep your digital security high, create a special email for AI services. This protects your main inbox from spam. It also makes your UndressAI journey start with privacy in mind.
What is the “CFG Scale,” and why is it important for my beginner workflow?
The CFG scale controls how closely the AI follows your prompt. It usually starts at 4. Adjusting it helps beginners find the right balance between AI creativity and their specific needs.
How can I use negative prompts to improve my image quality?
Negative prompts tell the AI what not to include in the image. This helps avoid blurred limbs, distorted textures, or unwanted backgrounds. Learning to use them is key to improving your images.
What is the correct syntax for integrating LoRA models into my prompts?
Use 0.5>