

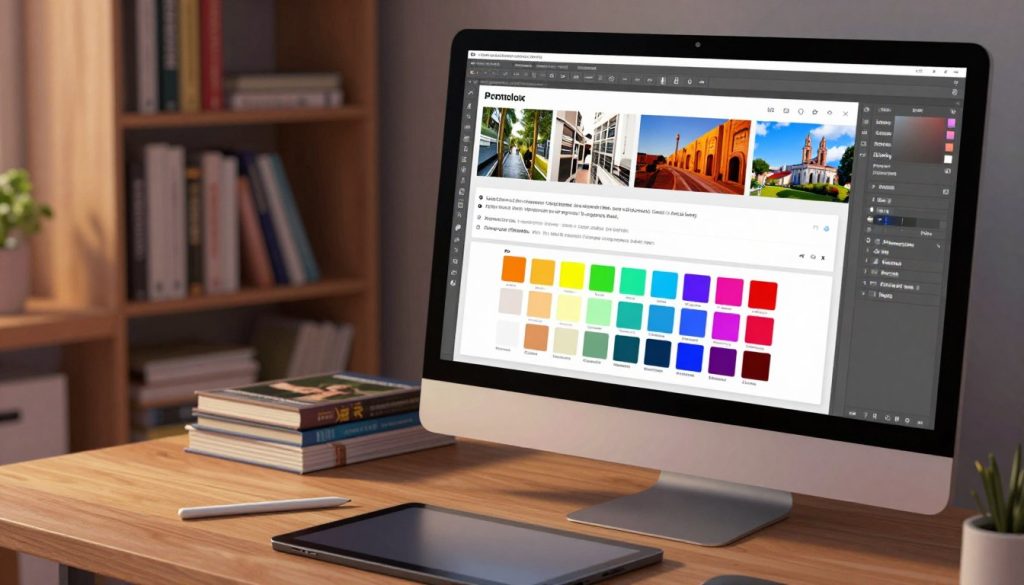
Photo Workflow: Prompt → Style → Render → Download
Ever thought your imagination could turn into real pictures with just a few clicks? Now, digital art lets you make your dreams come true.
Learning a ai porn photo workflow turns tech into a tool for your creativity. It’s like moving from old film cameras to new digital ones. These tools help you make your ideas perfect with technical precision.
This guide will walk you through from starting with a prompt to downloading your final work. You’ll learn to keep your project consistent and high-quality. Get ready to improve your digital art as you become more confident in your skills.
Punti chiave
- Understand the essential stages of the generation process.
- Learn how to craft effective prompts for better results.
- Discover techniques to maintain consistent visual styles.
- Master the rendering phase to ensure high-quality output.
- Streamline your final download and organization habits.
Setting Up Your AI Generation Environment
Creating a solid pipeline is key for any AI project. Preparing your local machine well keeps your creative work smooth. This setup lets you focus on your art, not tech issues.
Hardware Requirements for Local Generation
Your workstation’s heart is the Graphics Processing Unit (GPU). Choose NVIDIA cards for their CUDA cores, which speed up rendering. Look for a card with 8GB VRAM, but 12GB or more is better for complex models.
System memory is also crucial for a smooth pipeline. Aim for 16GB RAM to avoid slowdowns. Use a fast NVMe SSD for quick loading of large models.
Installing Stable Diffusion WebUI or ComfyUI
After setting up your hardware, pick an interface for your models. Stable Diffusion WebUI is great for beginners with its easy-to-use dashboard. It lets you tweak settings and see your work live.
ComfyUI offers a node-based workflow for more control. It’s perfect for those who like to see each step of image creation. Both are top choices with great support for custom extensions.
Managing Dependencies and Python Environments
AI tools need Python and libraries to work right. Use virtual environments to keep projects separate. This keeps your system tidy and prevents tool conflicts.
Install Git for managing software updates. Keeping your environment up-to-date ensures you get the latest features and security. A well-managed pipeline means a stable local setup for your AI projects.
Mastering the Art of Prompt Engineering
This tutorial teaches you how to turn your ideas into AI art. Prompt engineering is like a special language for talking to your model. It lets you control the look, feel, and details of your creations.
Structuring Your Positive and Negative Prompts
A good prompt clearly describes what you want to see. It should include the scene, Umore, and even the lighting. Think of it as a blueprint for the AI to follow.
Negative prompts help by telling the AI what not to include. They can block out mistakes or unwanted styles. Getting the balance right is key to making your images look professional.
Using Token Weighting for Precision
At times, the AI might miss the mark. Token weighting lets you tweak the importance of certain words. This way, you can emphasize or downplay parts of your prompt.
Ad esempio, you can make the AI focus more on “cinematic lighting.” This fine-tuning is crucial for perfecting your work. It saves you from starting over with every small change.
Leveraging Prompt Templates for Consistency
When working on big projects, efficiency is everything. Prompt templates help you keep your style consistent. They let you easily change details like clothes or location.
Having a collection of templates saves you time. You can spend more time on creativity and less on technical details. This structured approach boosts your productivity and image quality.
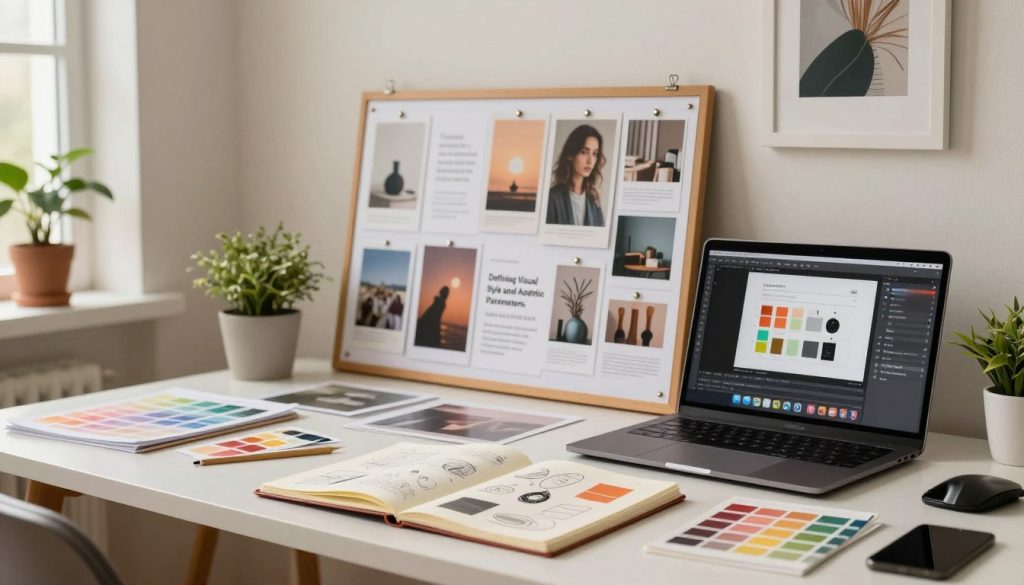
Defining Visual Style and Aesthetic Parameters
Improving your AI generation workflow begins with setting clear visual and aesthetic standards. This tutorial guides you to go beyond basic results and produce professional images. By controlling certain variables, you can shape the mood, depth, and overall look of your images.
Selecting Lighting and Camera Angles
Lighting greatly affects the mood of your scene. Always name your light source in prompts to guide the AI. Whether it’s soft or harsh, clear descriptions are key.
Camera angles also influence how we see your subject. Terms like low-angle shot O wide-angle lens change the scene’s feel. By trying different angles, you can direct the viewer’s gaze.
Applying Artistic Styles and Mediums
To create a unique look, define your objects’ physical details. Always mention the product material E surface texture in prompts. This ensures your textures look real.
Ad esempio, calling a surface “brushed aluminum” O “polished marble” helps the AI get light reflections right. This tutorial shows that being specific about mediums leads to consistent art. This consistency helps build a recognizable style.
Balancing Realism Versus Stylized Outputs
It’s important to balance realism with stylized art. For glass to look like glass, describe its transparency and refractive index. Metals should be detailed by their reflectivity and oxidation to look realistic.
For a stylized look, try mediums like oil painting or digital cel-shading. Mixing these with realistic lighting can create a hybrid aesthetic. This balance is key to making high-quality, intentional visuals, as this tutorial concludes.
Selecting the Right AI Porn Photo Workflow Tools
Creating a top-notch ai porn photo workflow means picking the right tools for consistent results. The right software stack gives you full control over your work. This lets you focus on creativity, not fixing technical issues.
Comparing Stable Diffusion Models
Not all models are the same, and your choice affects image quality. Some are great at photorealism, while others are better for art. Always test multiple versions to find the best fit for your style.
Look for models that are flexible with prompts. A good ai porn photo workflow uses fine-tuned models trained on quality data. This saves time on refining your prompts.
Utilizing Civitai for Model Discovery
Civitai is the go-to for finding top model checkpoints. You can filter by ratings, downloads, e stile. This helps you find the best tools for your needs.
Use preview images to see what a model can do before downloading. Creators often share prompts and settings used in their samples. This is a valuable resource for improving your generation process.
Integrating ControlNet for Pose Accuracy
Getting precise character positioning is hard. ControlNet fixes this by letting you use reference images for pose. This tool is key for consistent poses in your work.
ControlNet also lets you keep specific elements consistent. You can lock in lighting, struttura, and color. Adding these features to your ai porn photo workflow ensures quality and consistency in every image.
Configuring Model Checkpoints and LoRAs
Creating a top-notch image generation pipeline begins with setting up your core assets. By tweaking how your software manages model files, you can control the look of your work better.
Understanding Checkpoint Merging
Checkpoint merging lets you mix the best parts of two models into one file. It’s key for combining a model’s artistic flair with its accuracy.
Using weighted sums helps decide how much each model affects the outcome. Careful experimentation is crucial to finding the right mix for your project.
Training and Implementing LoRAs for Character Consistency
Keeping characters consistent is a big challenge in AI. LoRAs (Low-Rank Adaptation) offer a simple way to add specific traits to your pipeline without retraining a whole model.
Training a LoRA on images of the same subject ensures your character looks the same in different settings. This method is quick and saves a lot of time compared to full model fine-tuning.
Managing VAEs and Embeddings
VAEs (Variational Autoencoders) connect the latent space to the final image. The right VAE ensures your images have proper color depth and contrast, avoiding the washed-out look of raw generations.
Embeddings, or textual inversions, are shortcuts for complex ideas in your pipeline. They let you quickly apply specific styles or mediums without filling your prompt box. Keeping your VAEs and embeddings tidy makes your workflow smoother and boosts output quality.
Executing the Render Process
Modern AI tools let you make images fast, without needing expensive studio rentals or old camera gear. This tutorial is your guide to the final stage. Here, your prompts and settings turn into high-quality images.
Adjusting Sampling Methods and Steps
The sampling method is key to how the AI turns your prompt into an image. Picking the right sampler is crucial for the look you want.
“Quality in a service or product is not what you put into it. It is what the client or customer gets out of it.” — Peter Drucker
Try out different samplers to find the one that suits your style best. More steps mean more detail, but it also takes longer.
Optimizing Batch Sizes and VRAM Usage
It’s important to manage your hardware well for a smooth workflow. If you get memory errors, you need to adjust your batch size to fit your GPU’s VRAM.
| VRAM Capacity | Recommended Batch Size | Performance Impact |
|---|---|---|
| 8GB | 1 | Stable |
| 12GB | 2-4 | Efficient |
| 16GB+ | 4-8 | High Speed |
Optimizing your settings keeps your system running smoothly during long sessions. Always watch your task manager to avoid crashes during heavy rendering.
Troubleshooting Common Generation Errors
Even with a great setup, you might run into technical problems. Issues often come from model versions not matching or corrupted cache files.
If a generation fails, look at your console logs for error codes. Usually, just restarting or clearing your cache fixes it. This tutorial tells you to be patient and careful when fixing your generation pipeline.
Post-Processing and Upscaling Techniques
Your work doesn’t stop when the render is done. It continues with upscaling and restoration. Your initial prompt might include softboxes, sweeps, and macro lenses for lighting. But, the raw output needs more work to look polished.
Using Hires. Fix for Detail Enhancement
The Hires. Fix feature is key in your workflow. It upscales images during generation. First, render at a lower resolution. Then, do a second pass with higher denoising strength.
This adds intricate textures and fine details missing in the first draft.
- Select an appropriate upscaler like R-ESRGAN 4x+ for sharp results.
- Adjust the denoising strength between 0.3 E 0.5 to maintain composition.
- Use this method to fix blurry backgrounds or soft edges effectively.
Applying Face Restoration Tools
AI models sometimes struggle with facial details in distant shots. Restoration tools are crucial in your workflow. They analyze the image and rebuild facial geometry for lifelike clarity.
Choose from several restoration algorithms:
- CodeFormer: Excellent for maintaining natural skin textures.
- GFPGAN: Highly effective at fixing distorted eyes and mouths.
External Upscaling with Topaz Photo AI or Magnific
For high-resolution displays, internal tools might not be enough. External software like Topaz Photo AI or Magnific offers advanced AI-driven upscaling. They keep image quality high while increasing pixels.
These programs sharpen edges and remove noise smartly. They avoid unwanted artifacts. By using these tools, every detail stays crisp. This is what makes your work stand out as truly professional-grade digital art.
Managing Your Files and Secure Downloads
Managing your AI-generated files needs a solid plan. A good pipeline keeps your work safe and easy to find. Without a plan, your files can get lost in a sea of images and settings.
Organizing Your Local Library
Begin with a clear folder system. Keep raw and final files separate. Use names that tell you what’s inside, like the model and date.
Use software to add tags to your images. Keep different parts of your project in their own folders. This way, you won’t lose anything important. Organization is key to keeping your creative work safe.
Ensuring Privacy and Data Security
Your work might have secrets that need to stay hidden. Use full-disk encryption to protect your files. Don’t share your work on public clouds without strong security.
“Data is a precious thing and will last longer than the systems themselves.”
Check your setup for security holes often. If others use your computer, make sure your files are safe. Security is crucial when handling your digital work.
Best Practices for Cloud Storage Backups
Having backups is the best way to keep your work safe. Set up a pipeline to back up your files to the cloud or a physical drive. This way, your work is safe even if your computer fails.
Pick a backup that lets you go back to older versions. A regular backup routine means you can relax, knowing your work is safe. Consistency in backups is your best defense against losing your files.
Conclusione
You now have the skills to turn your artistic ideas into top-notch digital images. This guide is your map through the world of modern tools. Learning to improve prompts and manage model updates is key to your success.
The world of AI generation is always changing. Keeping up with updates and trends keeps your work fresh. This tutorial gives you the basics to stay ahead.
Your creative path is about mixing human ideas with machine accuracy. Try out different styles and settings to explore new possibilities. Use what you’ve learned to create unique and eye-catching visuals.
Connect with others to share your findings and get ideas. A community of peers can help solve problems and inspire new projects. Your hard work will pay off, leading to better and more professional work.
Domande frequenti
What is the significance of the CFG Scale in an ai porn photo workflow?
The CFG Scale (Classifier Free Guidance) determines how closely the AI follows your text prompt. A lower value (around 4-6) allows for more creative freedom and smoother textures, while a higher value (10-15) forces the model to adhere strictly to your keywords, though it can sometimes result in “burnt” or overly saturated colors.
How can I fix blurry or distorted faces in my renders?
The most effective method is using an extension called ADetailer, which performs an automatic Inpainting pass on faces. Alternatively, you can use the Inpainting tab in Stable Diffusion to manually mask the face and re-generate it at a higher resolution.
What are Karras samplers, and why should I use them?
Karras refers to a specific noise schedule that improves the efficiency of the denoising process. Samplers like DPM++ 2M Karras are highly recommended because they reach a high-quality, stable image in fewer steps than older methods, significantly speeding up your pipeline.
Where can I find specialized models if Civitai is down?
Hugging Face is the primary alternative. It is a massive repository for machine learning models where many developers host their original checkpoints, VAE files, and TensorRT engines before they are mirrored elsewhere.
What is Outpainting and how does it benefit my workflow?
Outpainting allows you to extend an image beyond its original borders. If you have a perfect portrait but want to convert it into a wide-angle shot, Outpainting uses the existing context to “draw” the rest of the environment, maintaining visual consistency.
How do I handle VRAM limitations on older NVIDIA cards?
You can use command-line arguments like `–medvram` or `–lowvram` when launching your WebUI. Additionally, using xformers or SDPA cross-attention optimizations can drastically reduce the memory footprint of your ai porn photo workflow.
Can I use Seed numbers to recreate a specific image?
SÌ. The Seed is the starting point of the noise for the generation. If you use the exact same Seed, prompt, model, and settings, the AI will produce the identical image. This is crucial for iterating on a design without losing the original composition.